What are you looking for?
Search
How to Create a Stunning Wool Needle Felting Pet Portrait
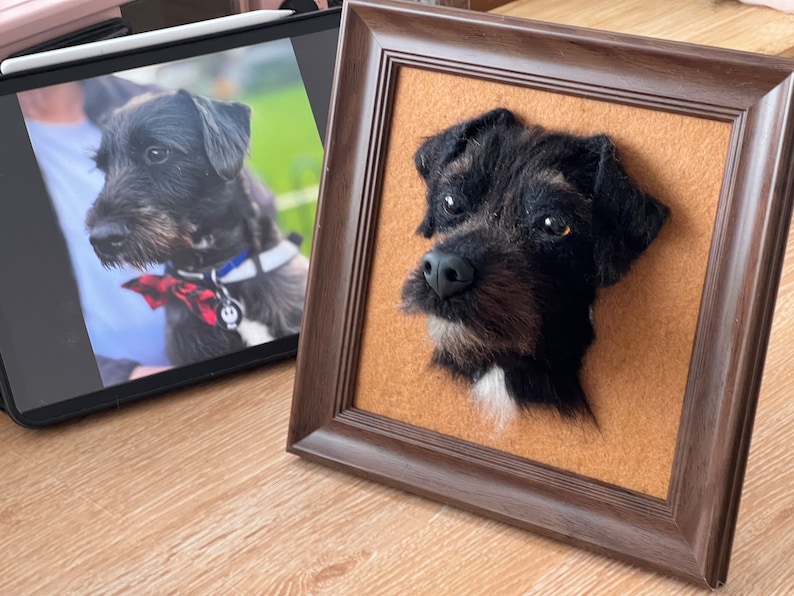
Wool needle felting is a unique and artistic way to capture the essence of your beloved pet. Whether you're a beginner or an experienced crafter, this step-by-step guide will help you create a stunning wool needle felting pet portrait that you can cherish forever.
Step 1: Gather Your Materials
To get started, you'll need the following supplies:
-
Wool Roving: Choose high-quality wool in colors that match your pet's fur.
-
Felting Needles: These specialized needles have tiny barbs that bind the wool fibers together.
-
Felting Pad: A foam pad to protect your work surface and needles.
-
Reference Photo: A clear photo of your pet to guide your work.
Step 2: Create the Base Shape
-
Start by pulling a small amount of wool roving and rolling it into a tight ball.
-
Use your felting needle to stab the wool repeatedly, shaping it into the basic form of your pet's head or body.
-
Gradually add more wool to build up the shape, using your reference photo as a guide.
Step 3: Add Details and Texture
-
Use smaller pieces of wool to add details like ears, eyes, and nose.
-
Layer different colors of wool to create texture and mimic your pet's fur patterns.
-
Continuously refer to your photo to ensure accuracy.
Step 4: Refine and Finish
-
Once the basic shape and details are complete, refine the portrait by smoothing out any rough areas.
-
Add final touches, such as whiskers or a collar, to bring your pet's personality to life.
-
Display your finished portrait in a shadow box or frame for a professional look.
Why Choose Wool Needle Felting?
Wool needle felting is a timeless art form that allows you to create a one-of-a-kind keepsake of your pet. Unlike traditional portraits, a felted piece is tactile and full of character, making it a perfect gift or personal treasure.

